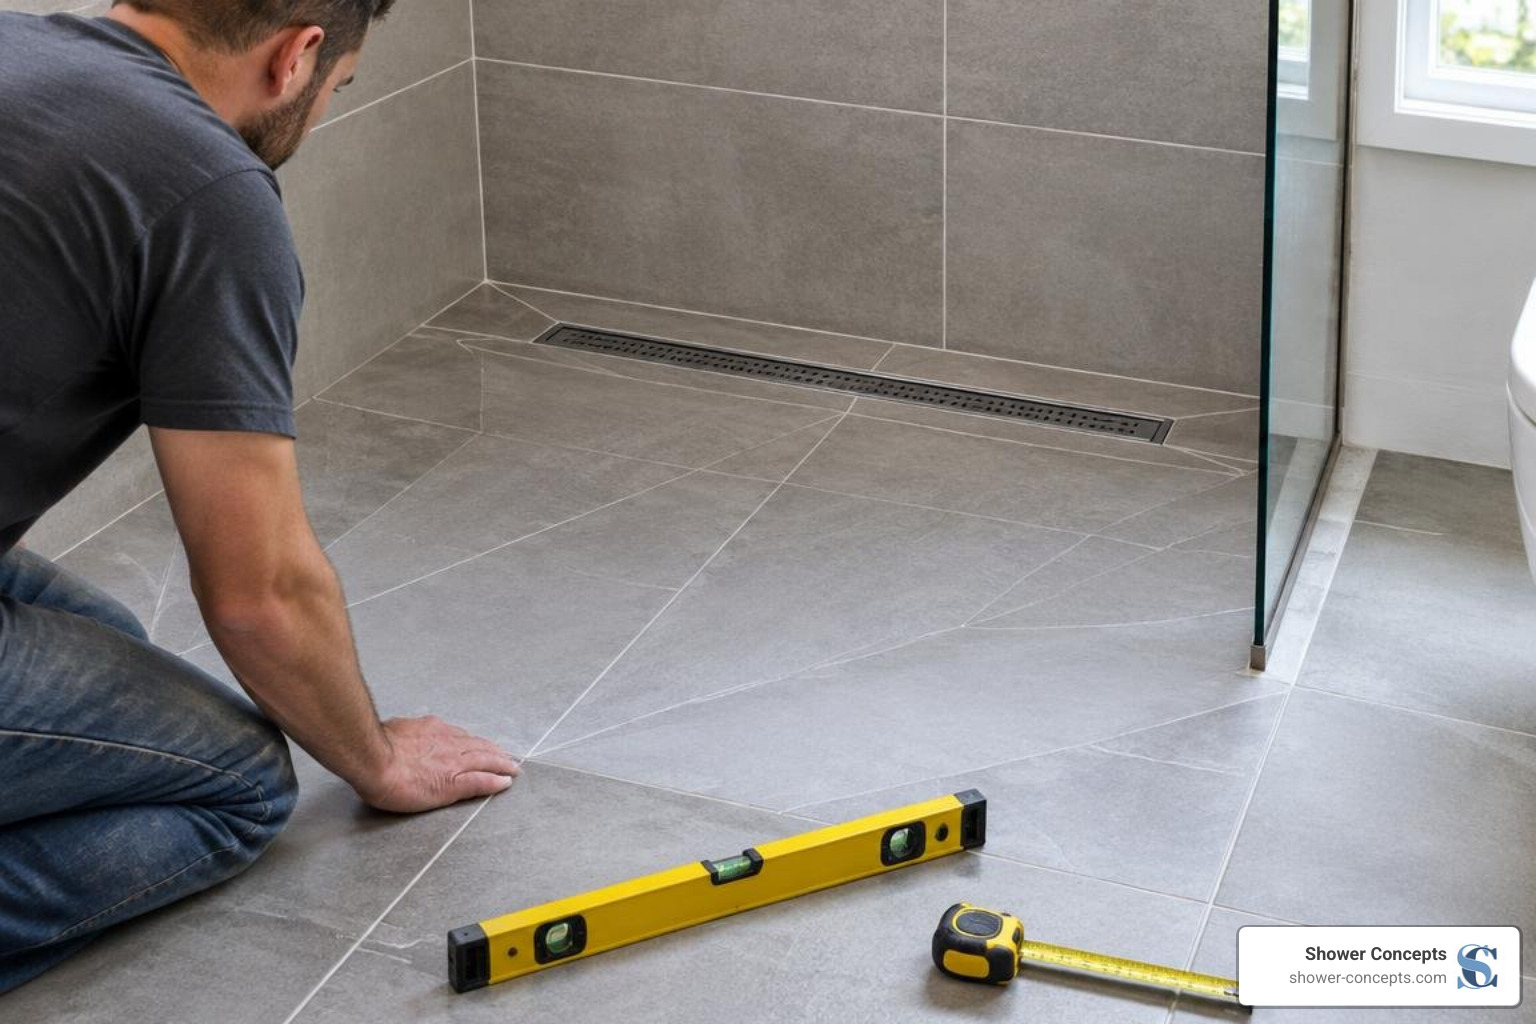
Stop Water Pooling by Nailing Shower Pan Slope Math
Calculate Shower Pan Slope Before Water Can Pool
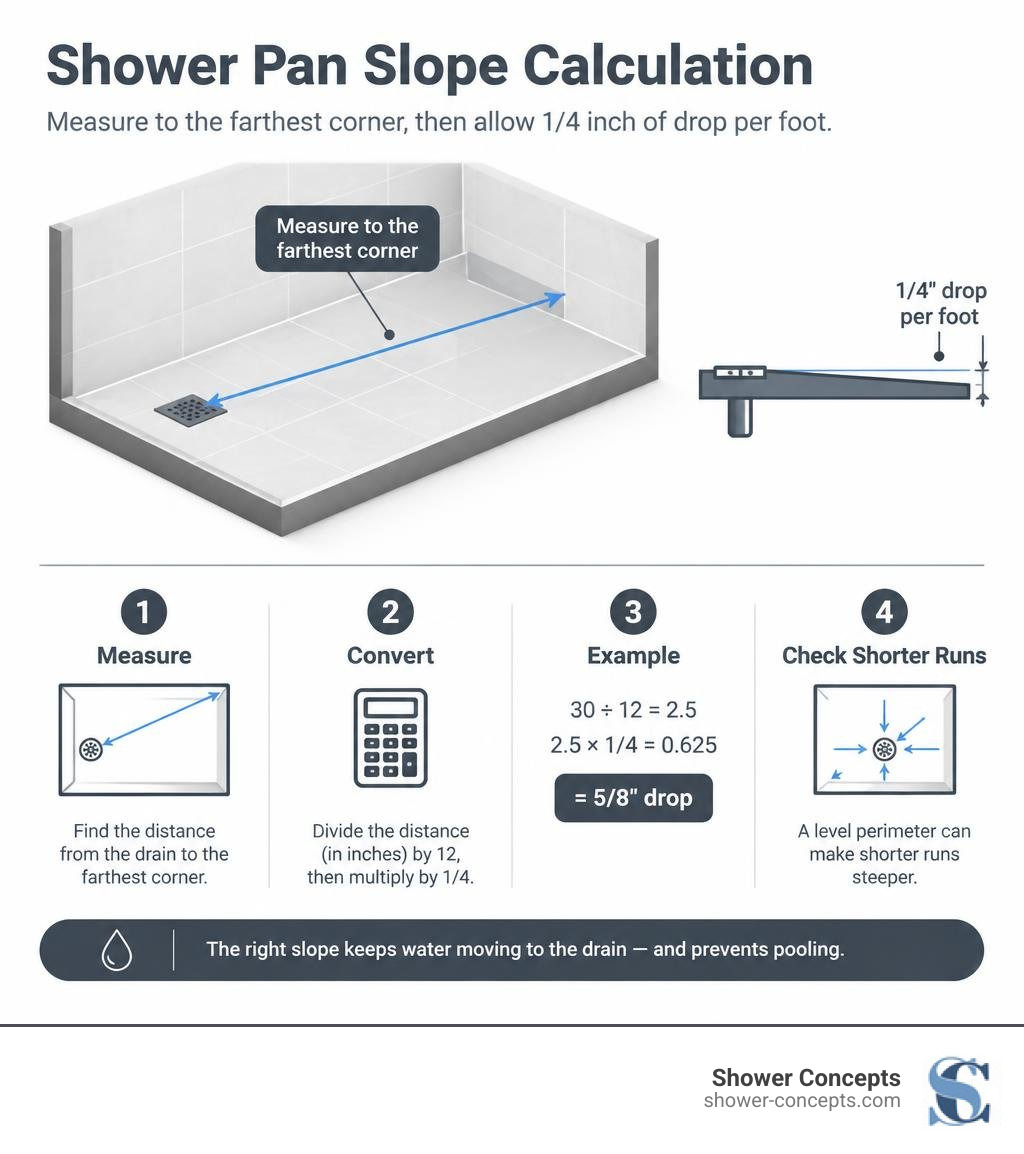
To use a shower pan slope calculator, measure the horizontal distance from the drain to the farthest corner. For a common target of 1/4 inch of drop per foot, divide that distance in inches by 12, then multiply by 1/4. A corner 30 inches from the drain needs a 5/8-inch drop. Check the shorter runs too: a level perimeter can make those parts of the floor steeper.
That small pitch helps water reach the drain instead of sitting on the tile. Getting the math right before installation is much easier than fixing a low spot later.
I'm David Stewart, an owner and partner at Shower Concepts. My 15-plus years in construction and tile installation help me explain how to use a shower pan slope calculator on real jobs.
Building Code Limits and the Math Behind Shower Pan Pitch
Building codes exist to prevent structural water damage, mold growth, and slippery standing water. In residential construction, three primary plumbing and building models govern shower receptor pitch: the International Residential Code (IRC), the International Plumbing Code (IPC), and the Uniform Plumbing Code (UPC).
Under Chapter 27 Plumbing Fixtures - ICC Digital Codes (specifically IRC Section P2709.1) and IPC Section 417.5.2, shower floors must pitch toward the drain with a uniform slope between 1/4 inch per foot (2.08% grade) and 1/2 inch per foot (4.17% grade). While recent editions of the UPC permit a pitch down to 1/8 inch per foot under specific conditions, most building inspectors still default to the 1/4-inch-per-foot minimum standard to ensure dependable drainage across diverse tile textures.
Building Code Standard | Minimum Allowable Slope | Maximum Allowable Slope | Primary Application Notes |
|---|---|---|---|
IRC Section P2709.1 | 1/4 inch per foot (2.08%) | 1/2 inch per foot (4.17%) | Standard for one- and two-family dwellings |
IPC Section 417.5.2 | 1/4 inch per foot (2.08%) | 1/2 inch per foot (4.17%) | Applied across commercial and residential structures |
UPC (2021 & Later) | 1/8 inch per foot (1.04%) | 1/2 inch per foot (4.17%) | Allows lower pitch, often used for large-format tile |
UPC (2018 & Older) | 1/4 inch per foot (2.08%) | 1/2 inch per foot (4.17%) | Standard historical municipal plumbing code |
Why 1/4 Inch Per Foot Is the Universal Drainage Standard
A 1/4-inch-per-foot slope creates an angle of approximately 1.19 degrees. While that incline may look nearly flat to the eye, it is engineered to overcome water tension and fluid dynamics. Water in a shower carries body oils, soap scum, and hair, all of which cling to grout joints and textured tiles.
If a shower floor is pitched below 2% (around 0.24 inches per foot), the surface tension of the water often exceeds the gravitational pull toward the drain. A 2025 drainage study revealed that shower pans installed with slopes below 2% resulted in chronic standing water within 6 to 12 months in over 80% of documented cases. Conversely, exceeding the 1/2-inch-per-foot maximum (2.39 degrees or 4.17%) creates a steep, unsafe surface that increases slip-and-fall hazards.
How to Calculate Required Drop to the Farthest Corner
A frequent layout error is calculating elevation change using the distance to the nearest wall. Because water must drain from the entire surface, you must base your perimeter height on the diagonal run to the farthest corner.
The drop you need is found by dividing the run, in inches, by 12 to get the horizontal run in feet, then multiplying that number by the desired slope in inches per foot.
For example, on a 30-inch diagonal run at 1/4 inch per foot:
30 divided by 12 equals 2.5 feet of horizontal run
2.5 multiplied by 0.25 equals 0.625, or 5/8 inch of total drop
Running this calculation for every wall facet helps verify that the drop across the longest run does not cause the shortest wall facets to exceed the 1/2-inch-per-foot code ceiling.
How to Use a Shower Pan Slope Calculator for Different Drain Layouts
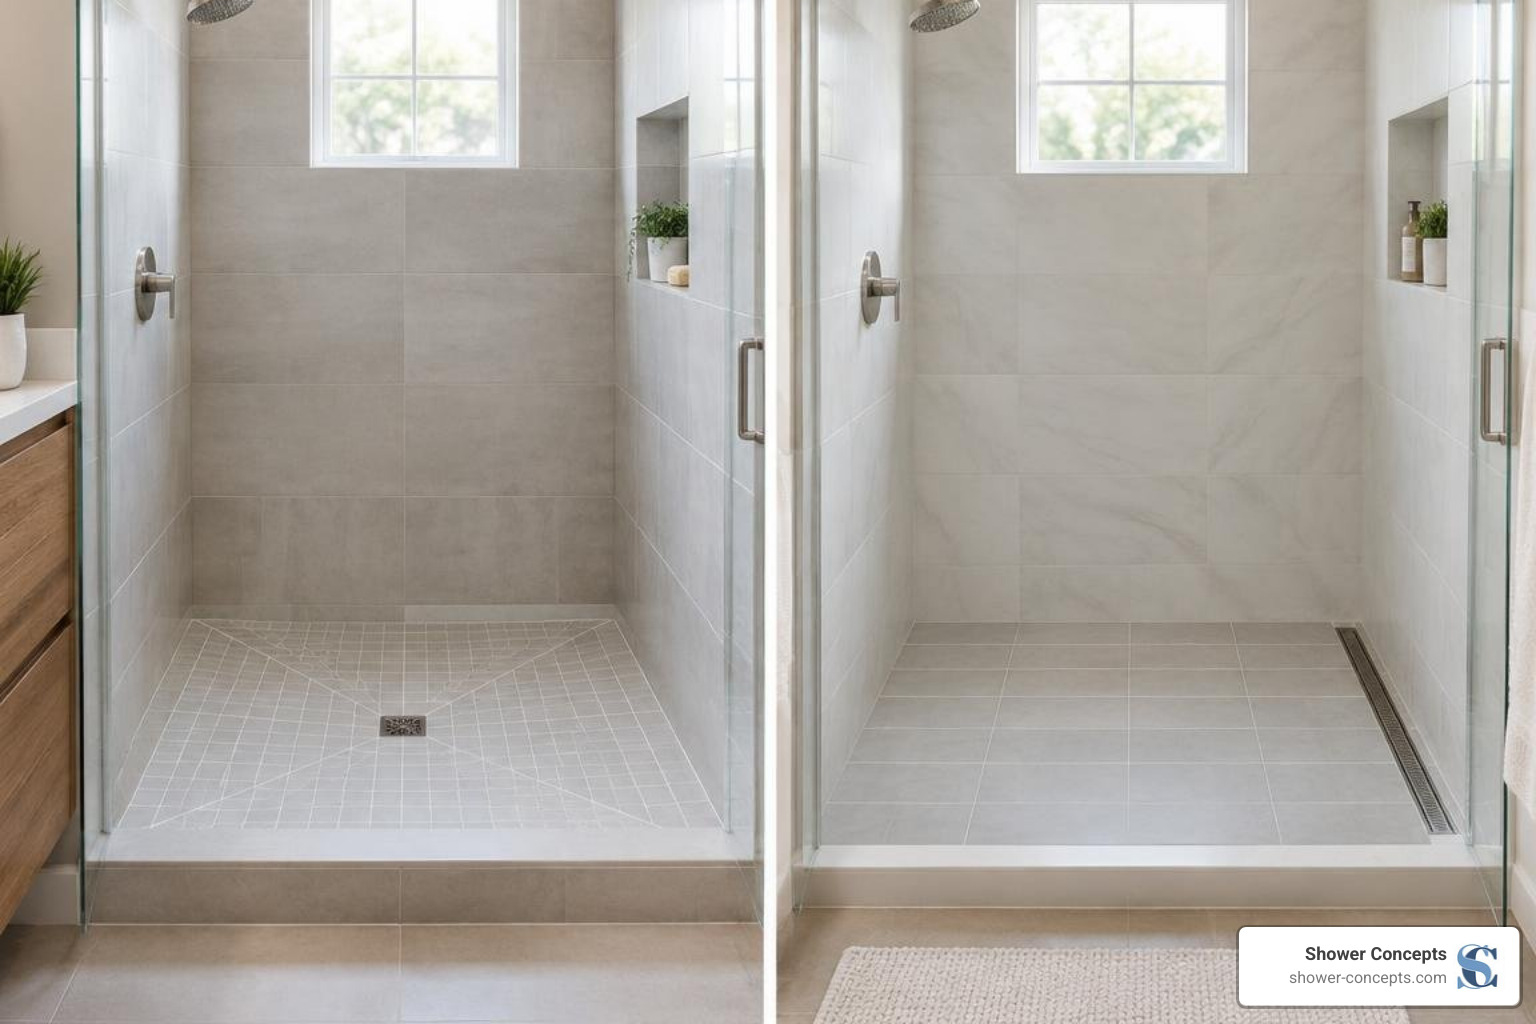
Drain geometry dictates how water moves across the floor planes. Different drain styles require distinct calculation methods to ensure uniform pitch.
Center and Off-Center Point Drains in a Shower Pan Slope Calculator
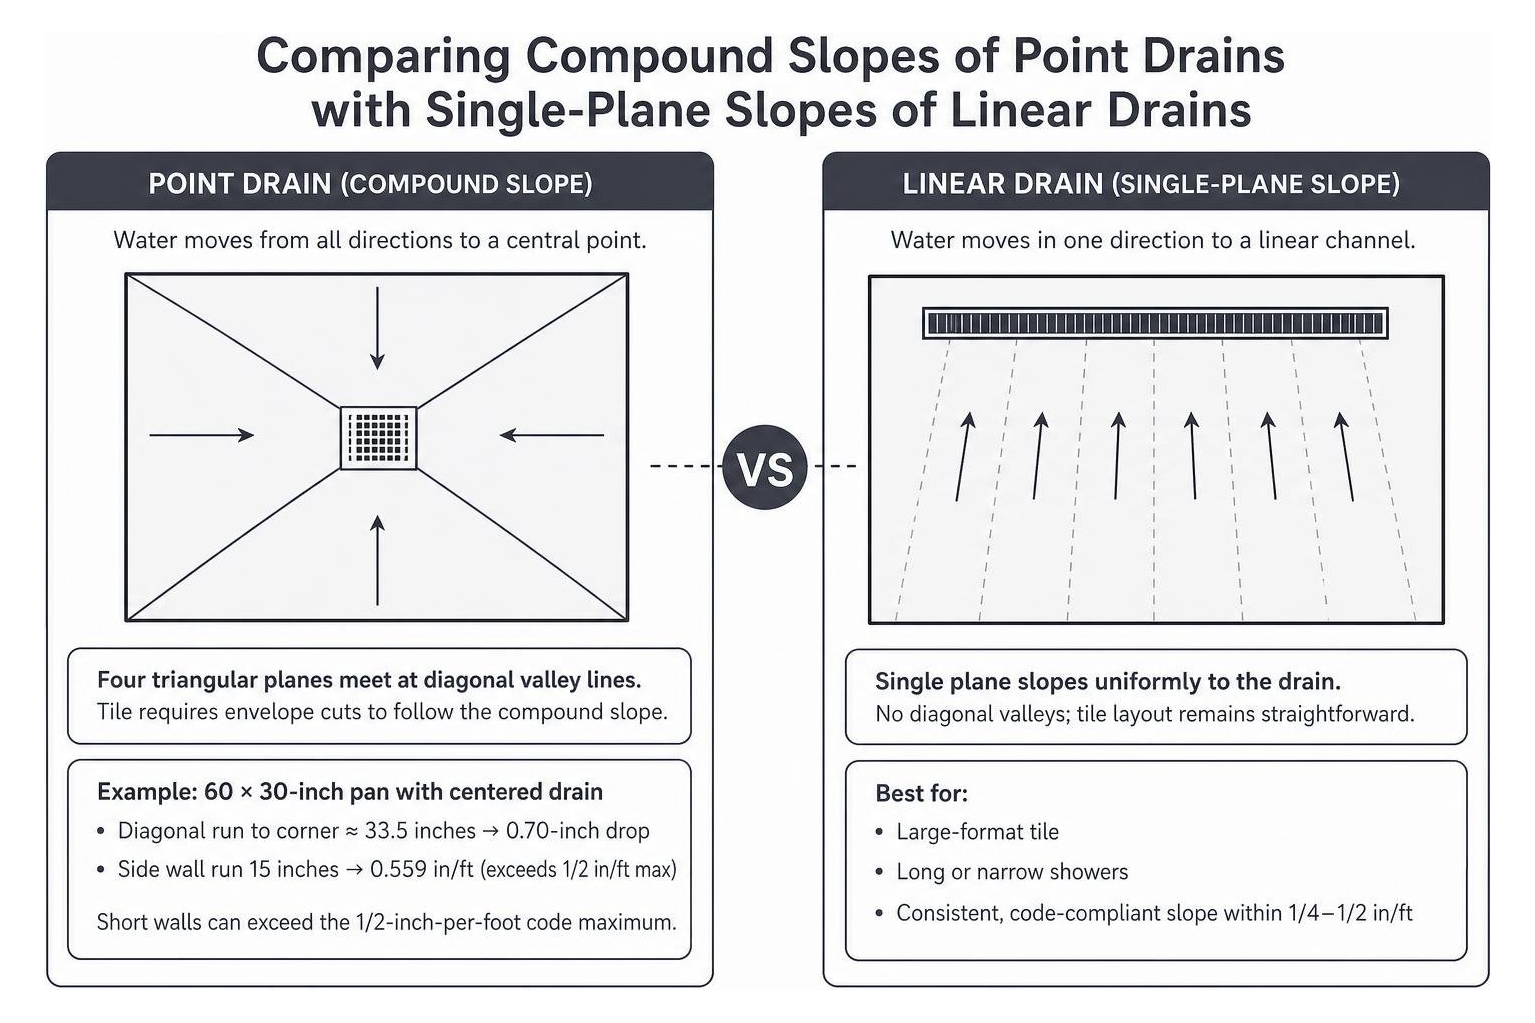
A center point drain divides the shower floor into four distinct triangular planes that meet at diagonal valley lines. This configuration requires envelope cuts in the tile to follow the compound slope.
When a point drain is placed off-center or in narrow showers (such as a 60 × 30-inch pan), calculating slope to the farthest corner can create problems on the short walls. For instance, in a 60 × 30-inch pan with a centered drain, the diagonal run to the corner is roughly 33.5 inches, requiring a 0.70-inch drop. However, the short run from the drain to the side wall is only 15 inches. Spanning that 0.70-inch drop over 15 inches creates a pitch of 0.559 inches per foot, exceeding the 1/2-inch-per-foot code maximum.
Linear Drains and Curbless Entries in a Shower Pan Slope Calculator
Linear drains simplify the slope by directing water across a single plane, functioning like a uniform wedge. Because there are no compound valleys or diagonal intersecting lines, you can install large-format tiles without envelope cuts.
For curbless installations, the math is straightforward:
Multiply the total distance from the entrance to the linear drain by the target slope (such as 1/4 inch per foot).
The calculated drop determines the exact recess depth required in the subfloor framing to achieve a flush, barrier-free transition.
Foam Shower Pan Slope, Drain Placement, and Installation
When installing a factory-sloped system, proper subfloor preparation is essential to support the pan's built-in slope. Reviewing detailed foam shower pan installation steps ensures the underlying structure matches the engineered pitch.
Waterproofing and Drain Integration for Foam Shower Pans
Modern foam systems utilize factory-bonded topical waterproof membranes or liquid-applied barriers rather than traditional under-bed pan liners. It is vital to use manufacturer-specified drain assemblies with integrated bonding flanges. These connections provide a seamless, watertight seal directly at the drain mouth, preventing subsurface water migration.
Preparing and Setting a Custom Foam Shower Pan
Verify the Subfloor: The subfloor must be clean, structurally sound, and completely level. Any dip or tilt in the subfloor directly shifts the built-in slope of the foam pan.
Dry-Fit Components: Position the pan and assemble the drain connection dry to ensure full alignment with plumbing rough-ins.
Embed in Mortar: Spread a modified thin-set mortar across the subfloor using the manufacturer's recommended notched trowel, then firmly press the pan into place to ensure 100% continuous support without hollow voids.
Confirm Slope: Place a level across all pan facets before the mortar sets to verify that the factory pitch remains true.
Verification Steps and Common Slope Mistakes That Cause Failure
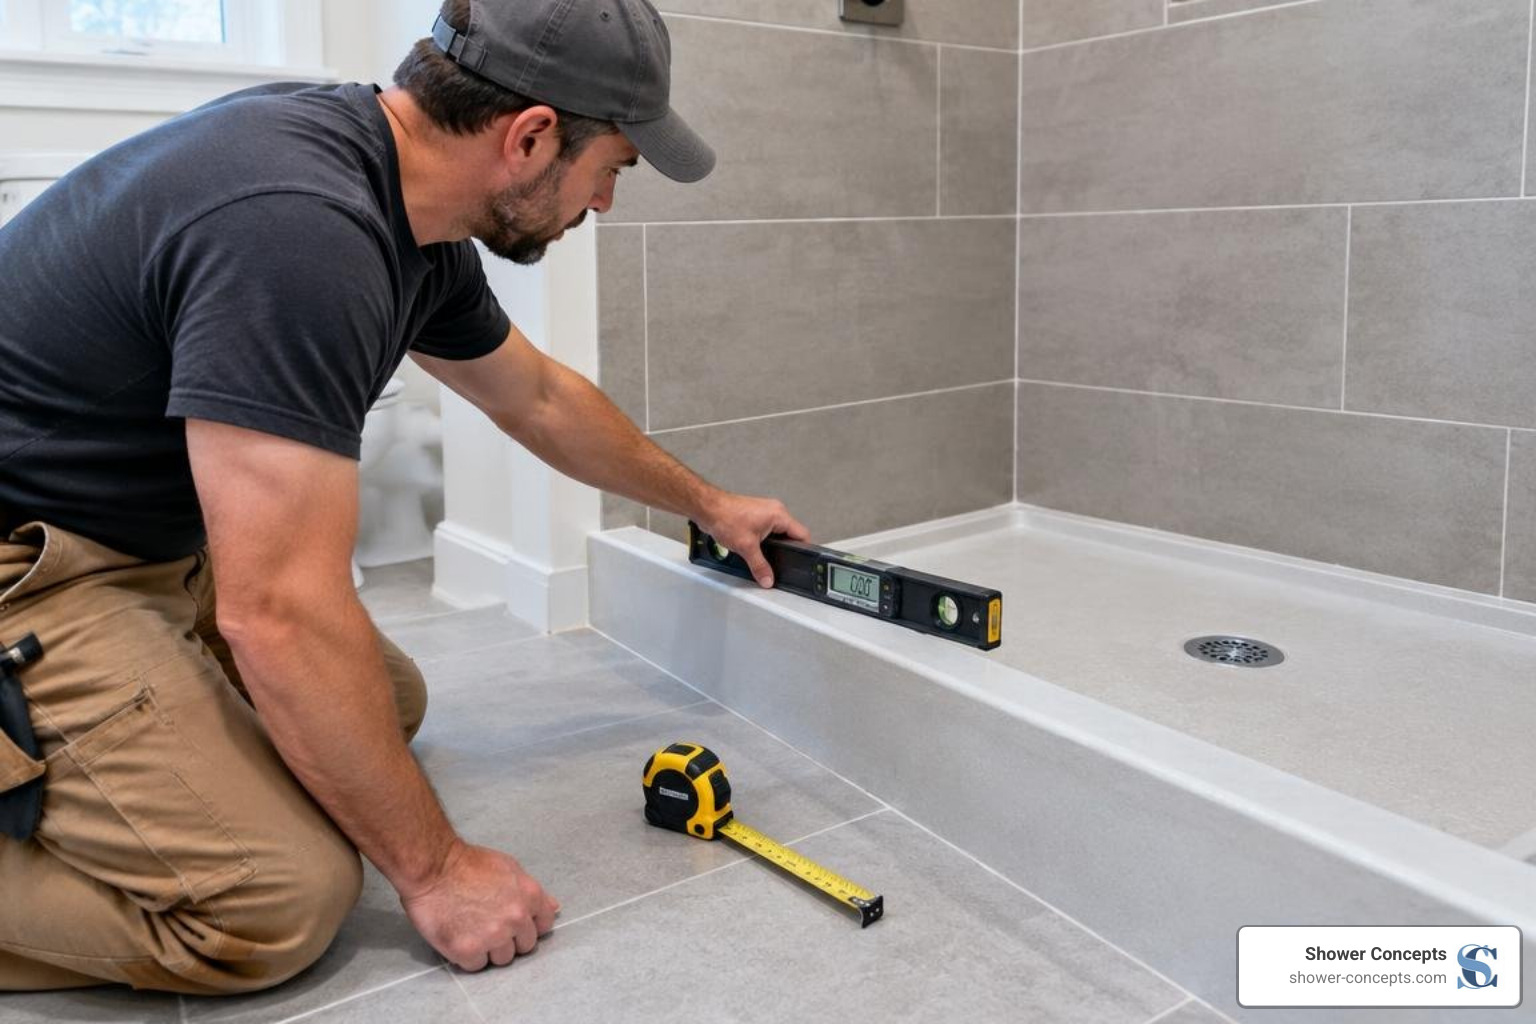
A minor calculation or execution error during framing or pan placement can result in costly repairs. When prepping a shower pan for custom tile, following a rigorous verification process prevents drainage failures before the first tile is set.
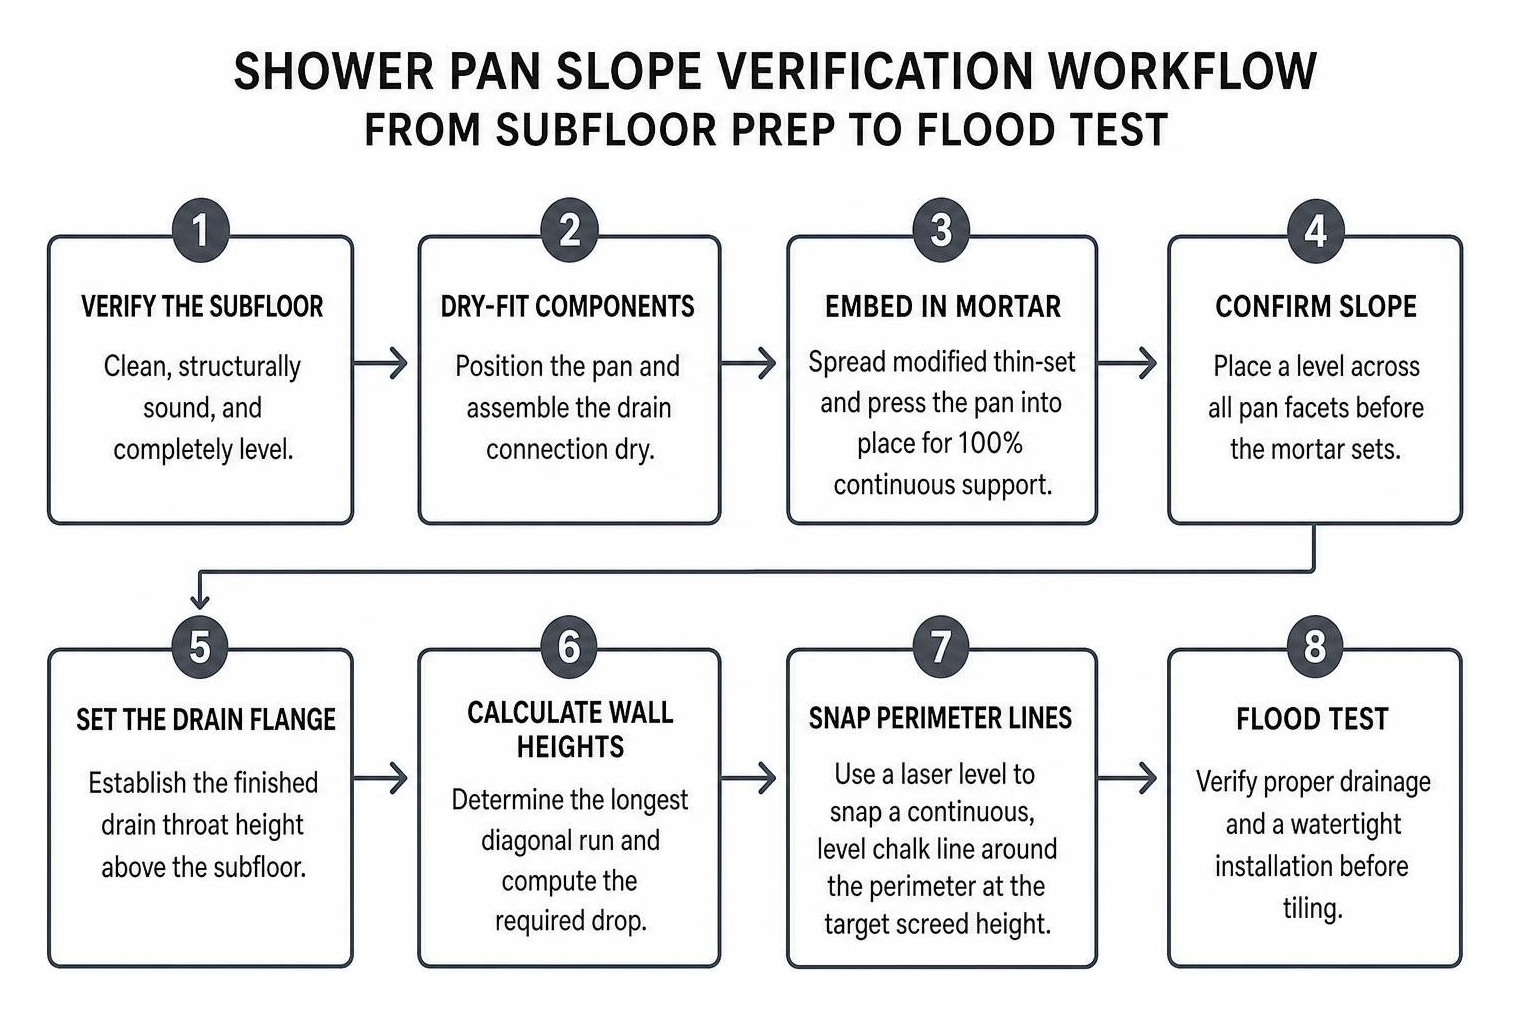
Step-by-Step Method to Set and Screed Wall Lines
Set the Drain Flange: Establish the finished drain throat height above the subfloor.
Calculate Wall Heights: Determine the longest diagonal run to the farthest corner and compute the required drop.
Snap Perimeter Lines: Using a laser level, snap a continuous, level chalk line around the shower perimeter framing at the target height.
Establish Slope Guides: Align perimeter guide references extending from the wall lines down to the drain rim.
Check Midpoints: Verify the midpoint height along each wall facet to prevent hollow spots, dips, or crowned ridges.
Perform a Flood Test: After the waterproofing cures, plug the drain and fill the pan with water for 24 hours to verify complete watertight integrity and uniform drainage upon release.
Frequently Asked Questions About Shower Pan Slope
What is the minimum and maximum slope allowed for a shower pan?
The IRC and IPC mandate a minimum slope of 1/4 inch per foot (2.08% grade) and a maximum slope of 1/2 inch per foot (4.17% grade). While UPC 2021 allows down to 1/8 inch per foot under specific parameters, 1/4 inch per foot remains the universal standard for residential reliability.
Why must I calculate slope to the farthest corner instead of the nearest wall?
Water must drain effectively from every point on the floor. If you calculate height based on the shortest wall distance, the longer run to the farthest corner will fall below the 1/4-inch-per-foot minimum slope, creating flat areas where water pools.
Can I fix standing water in a foam shower pan after installation?
If standing water occurs on an installed foam pan, check the area with a digital level. Minor surface irregularities can sometimes be resolved using approved floor patch or self-leveling mortar compatible with the topical waterproofing membrane. However, if the subfloor beneath the pan was out of level, tiles in the affected section must be removed to correct the underlying plane per manufacturer guidelines.
Conclusion: Eliminating Drainage Failures with Accurate Pan Slope
Proper shower drainage relies on accurate math and sound installation practices. Whether calculating compound slopes for an off-center point drain or planning a single-plane wedge for a linear drain, maintaining a minimum 1/4-inch-per-foot slope protects installations from standing water, mold growth, and tile failure.
At Shower Concepts in Englewood, Colorado, we manufacture custom, 100% virgin-foam shower pans made to order with rapid turnaround times. Our pre-sloped pans eliminate site-built screeding errors and ensure compliance with strict building code standards.
