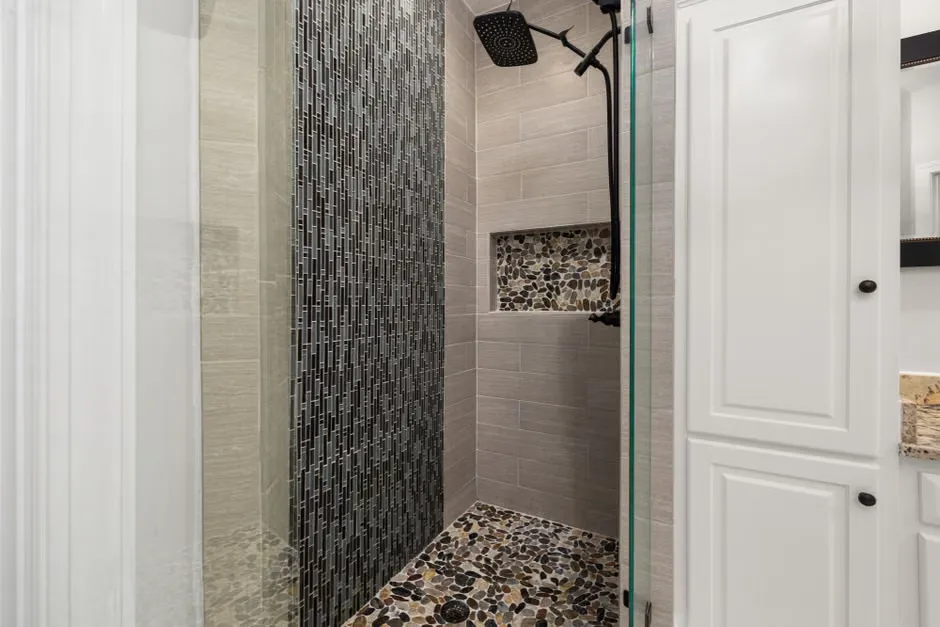
Building Out a Shower Pan for Custom Tile from Scratch
Choosing a Shower Pan for Custom Tile
A shower pan for custom tile should fit the shower footprint, place the drain where the plumbing allows, and slope toward that drain. For an unusual shape or a tight schedule, a made-to-order, pre-sloped foam tray gives tile installers a lightweight starting point without building the slope from mortar. Foam alone is not a finished waterproof shower: plan the drain connection and a compatible waterproofing system before ordering.
Start with the stud-to-stud dimensions, the drain center measured from two walls, and the choice of a curbed or curbless entry. Those details determine which pan will fit and how it will meet the surrounding floor and walls.
I’m David Stewart, an owner and partner at Shower Concepts in Denver. I’ve spent more than 15 years in construction and tile installation, including helping contractors choose and install a shower pan for custom tile.
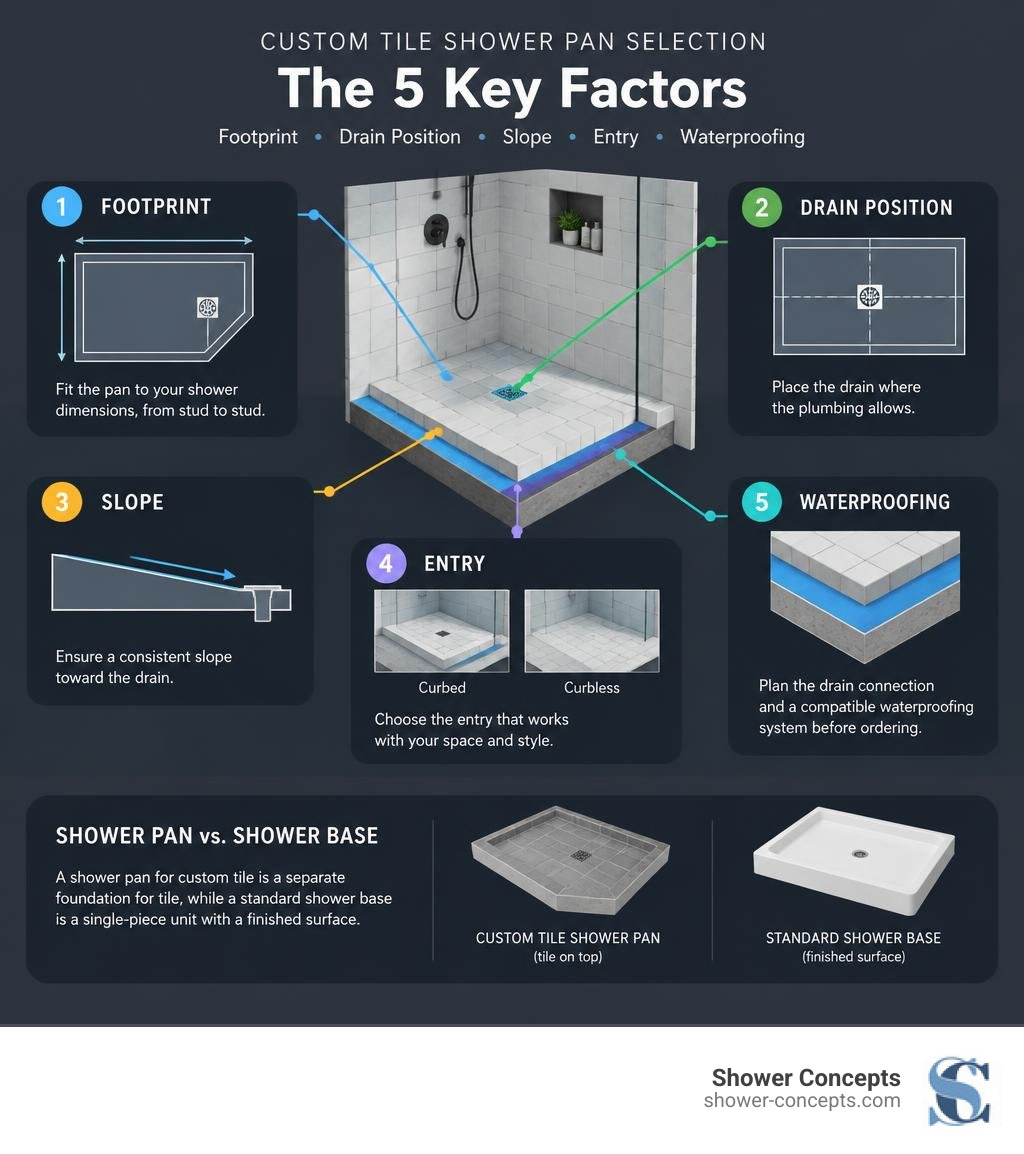
Understanding Shower Pans for Custom Tile
A shower pan for custom tile is the waterproof, sloped foundation beneath the finished tile surface. It must support the selected tile, direct water to the drain, and integrate with the surrounding waterproofing so the shower assembly performs as intended.
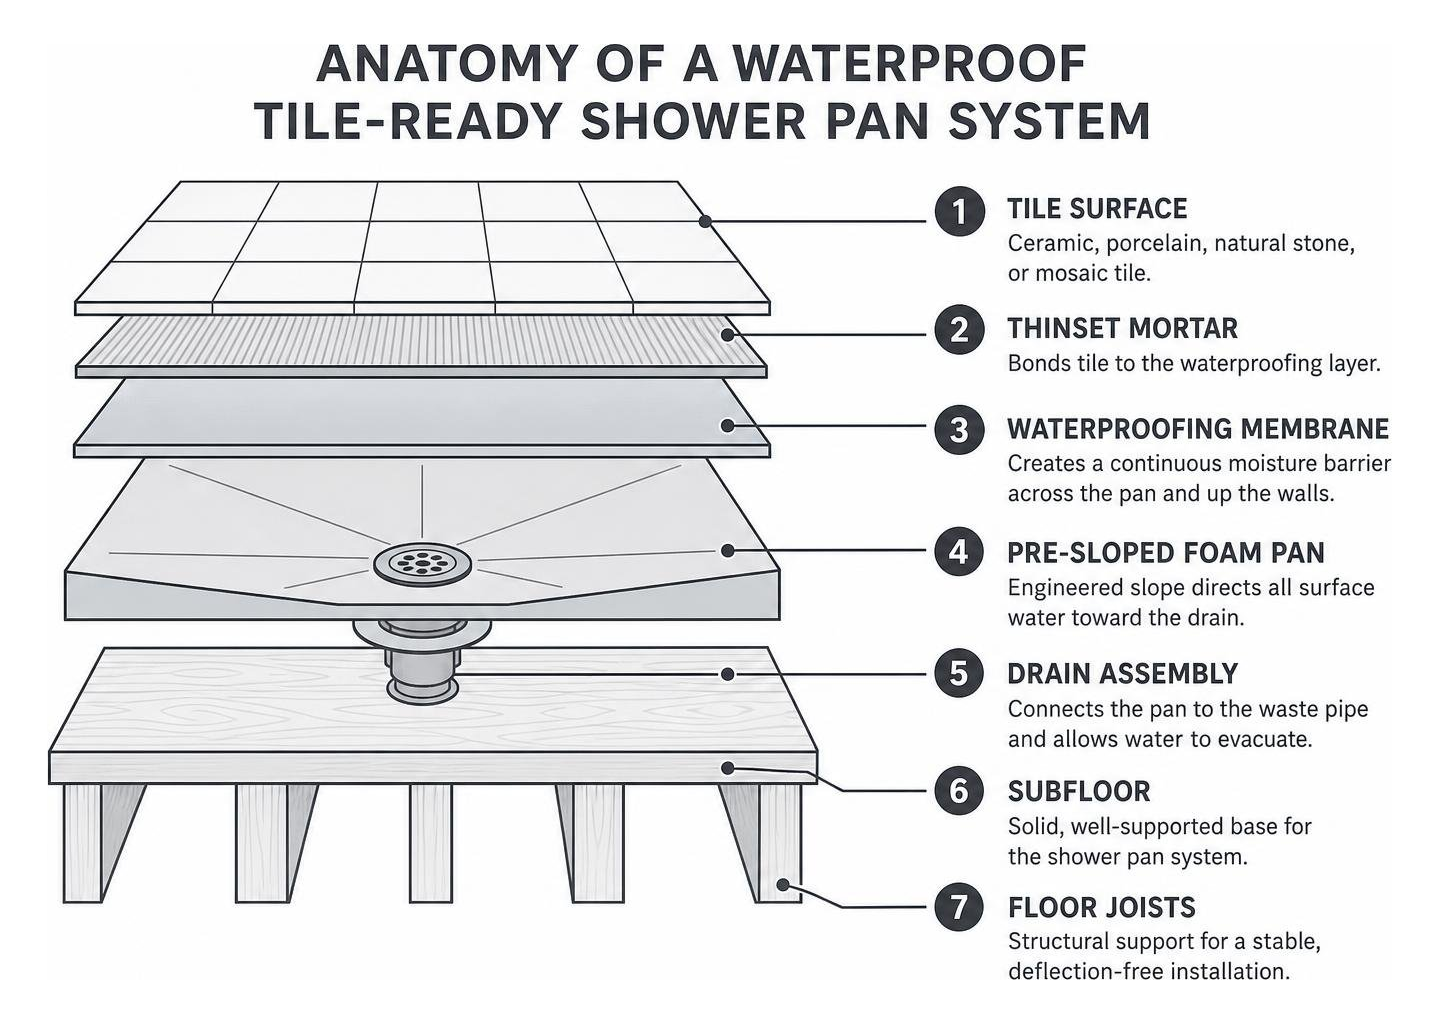
A true shower pan acts as an engineered, waterproof foundation constructed to support an overlaid surface of ceramic, porcelain, natural stone, or mosaic tile. Choosing engineered shower pans ready for tile gives you flexibility over the room's geometry. A made-to-order pan can support tiled shower footprints with complex angles, expansive walk-in layouts, and integrated benches.
Creating a tiled shower assembly requires strict moisture management and unwavering subfloor integrity. Tiled floors are not completely waterproof on their own; grout and thinset naturally absorb moisture over time. The underlying shower pan must evacuate all surface water into the waste pipe while creating a reliable moisture barrier that protects the surrounding framing and subfloor from rot, mold, and structural degradation.
Building codes dictate specific performance criteria for these assemblies. In accordance with building standards such as the International Residential Code, all shower receptors must maintain a continuous, pitch-perfect slope toward the drain outlet, feature an impervious waterproof lining extending up surrounding walls, and pass standardized flood tests prior to tile installation.
Materials Used in a Shower Pan for Custom Tile
A custom tiled shower floor needs a rigid, properly sloped substrate beneath its waterproofing and tile. The substrate must maintain its shape, support foot traffic, and provide a dependable base for the finished assembly.
Modern tile construction relies heavily on expanded polystyrene (EPS) foam technology. High-density EPS foam provides a rigid, structural core designed to withstand high compressive loads while remaining lightweight and moisture-impervious. High-density foam trays do not rot, swell, or degrade when exposed to moisture, making them an ideal substrate for residential showers and high-traffic commercial environments.
Pre-Sloped Foam Pans and Their Benefits
A precision pre-sloped foam shower tray offers practical advantages on the job site:
Engineered Slope Precision: A factory-manufactured foam pan provides a consistent slope toward the drain across the tray.
Efficient Installation: A foam shower pan installation gives installers a lightweight, pre-sloped base that is ready for compatible waterproofing and tile.
Low Structural Weight: High-density EPS trays are lightweight, which can make handling and transportation easier on the job site.
Reliable Durability: When bonded with modified thinset and properly waterproofed, rigid foam trays create a solid, load-bearing floor for normal foot traffic. See this custom shower pan is built to last and easy to install to see a modern foam pan assembly in action.
Custom Foam Shower Pan Options and Solutions
Every bathroom remodel presents distinct spatial challenges: out-of-square framing, non-standard footprint dimensions, or stubborn drain pipes trapped over structural floor joists. Manufactured foam trays provide the flexibility needed to address these unique layouts without forcing costly plumbing relocations.
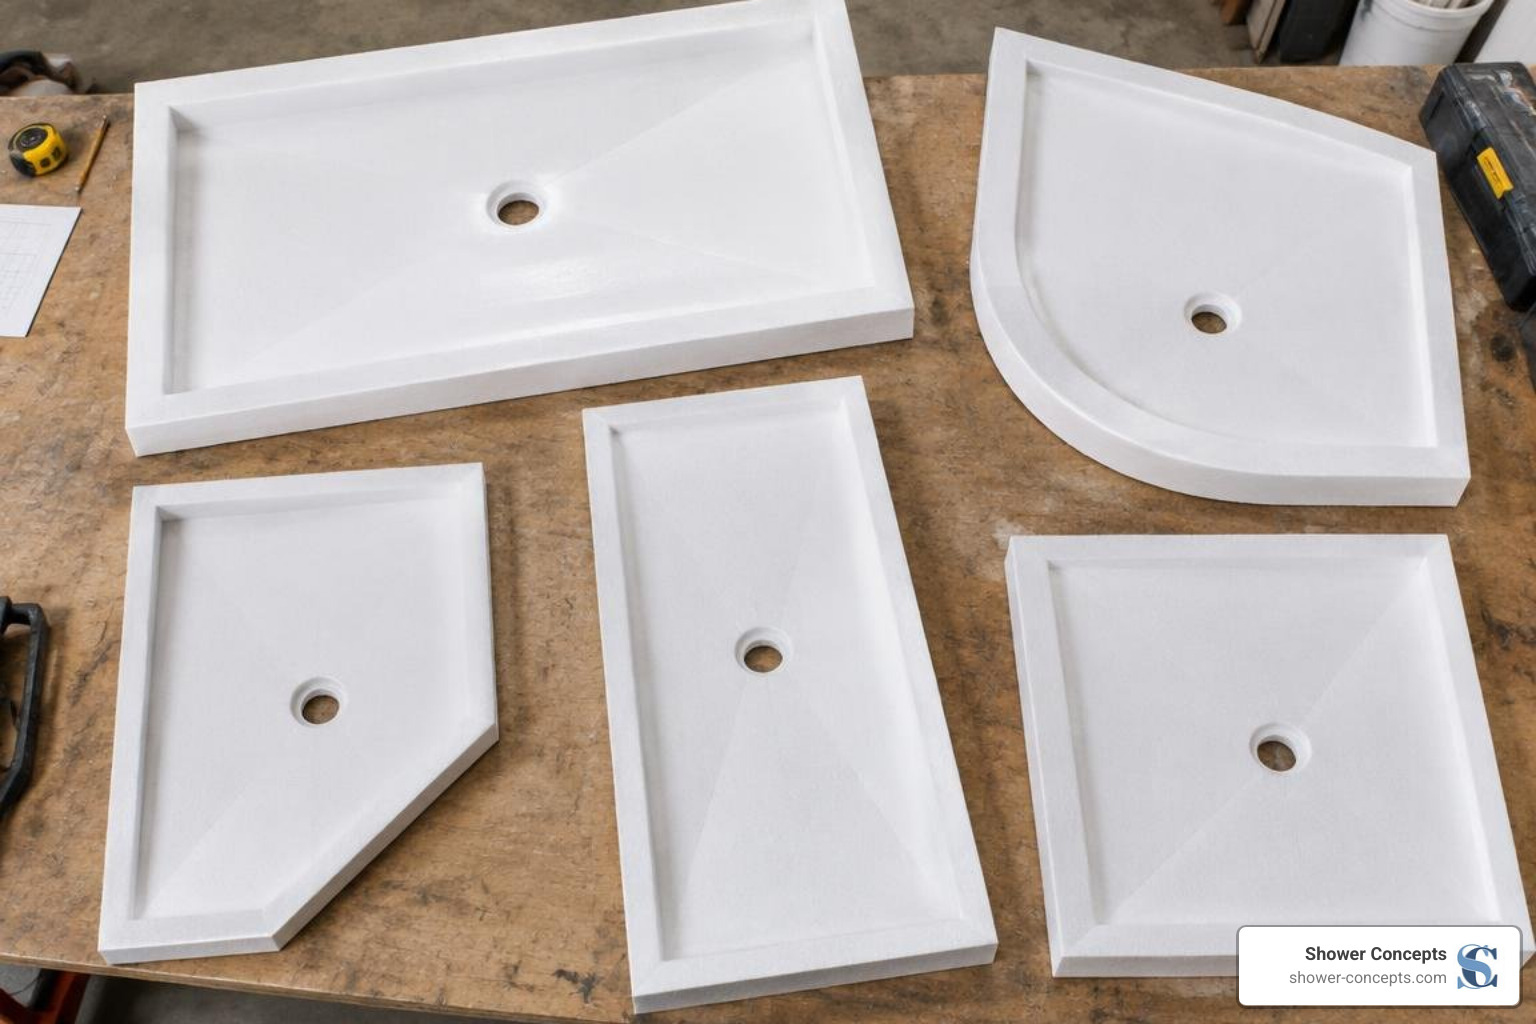
High-Density EPS Foam Custom Trays
At Shower Concepts, our custom trays are crafted from 100% virgin EPS foam. Unlike re-granulated or low-density packaging foam, virgin high-density EPS provides uniform cell structure, exceptional dimensional stability, and dependable load distribution.
When configuring a shower pan custom ordered for your project, standard manufacturing specifications include:
Standard 1/4-Inch Pitch: Every tray is precision-machined with an industry-standard slope of 1/4 inch per foot toward the drain cutout, guaranteeing rapid water evacuation without puddling.
Field-Trimmable Edges: While custom pans are fabricated to your exact room dimensions, the high-density foam core can be trimmed on-site using a standard utility knife or handsaw to accommodate out-of-plumb wall framing or irregular structural jogs.
Engineered Perimeter Thickness: Our standard outer perimeter thickness is 1-15/16 inches, creating a strong structural perimeter that integrates smoothly with standard curb dimensions, perimeter flashings, and modern backer board thicknesses.
Planning Drain Types and Threshold Profiles
The choice of drain geometry and threshold transition directly dictates how your custom shower pan must be sloped, waterproofed, and tiled.
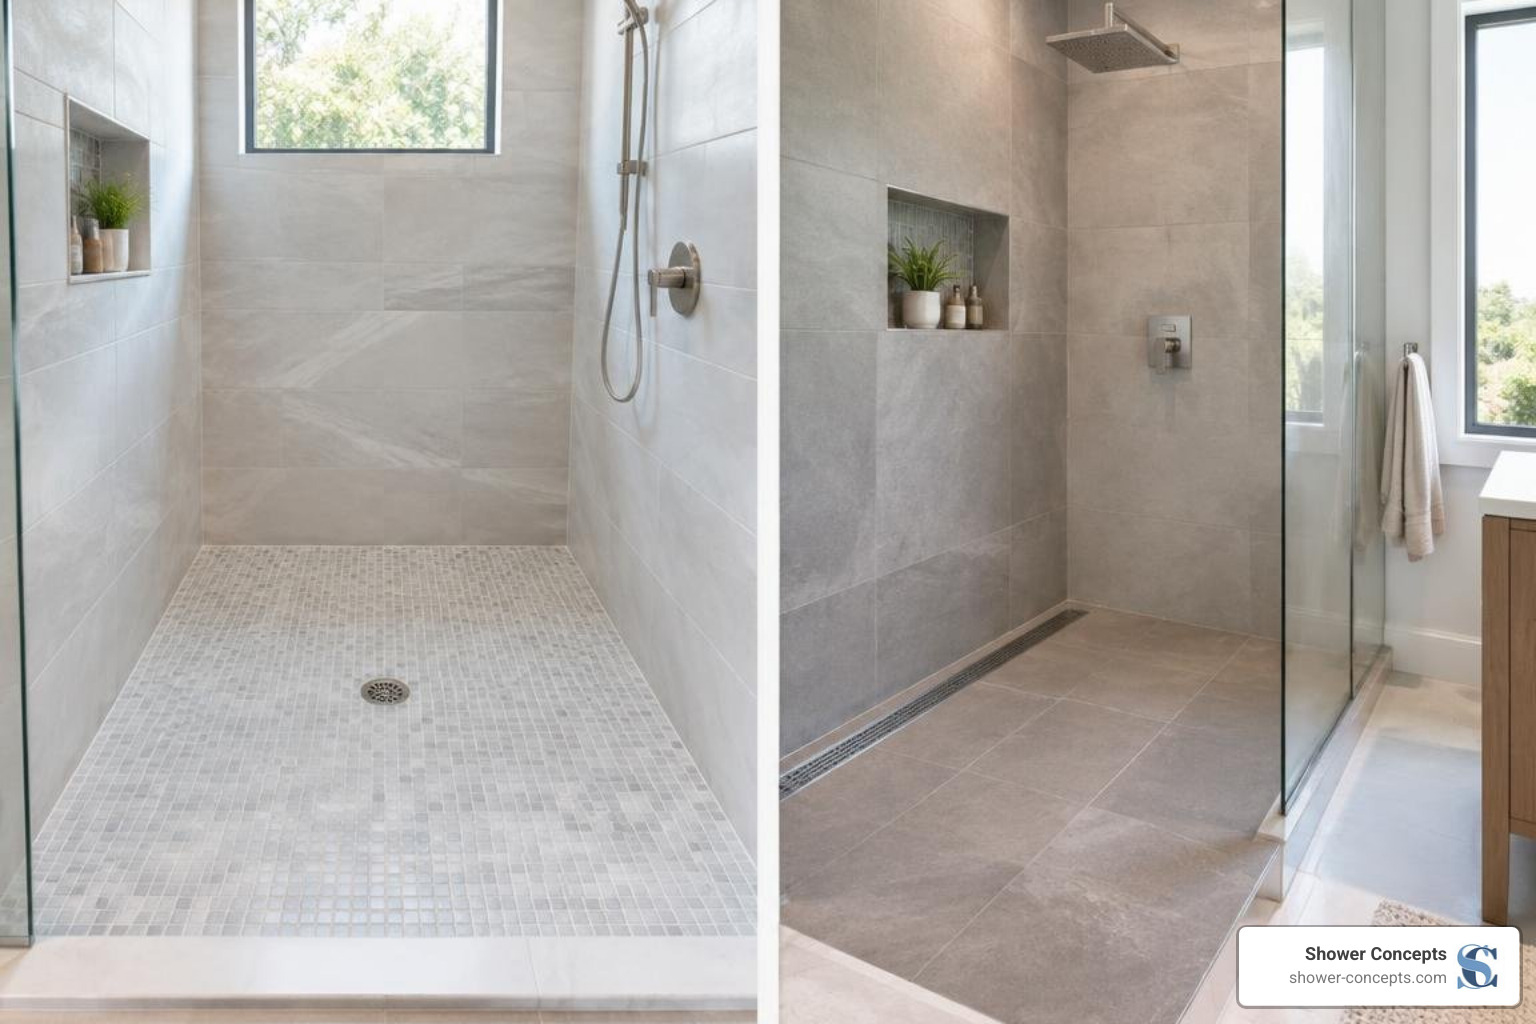
Point Drains vs. Linear Trench Drains
The primary distinction between drain systems comes down to the directional slope of the floor:
Traditional Point Drains (Center or Offset): A point drain is a round or square drain situated in the center or offset location of the floor. Because water must travel toward a single focal point from all directions, the foam pan must be machined with a compound four-way slope (pyramid style). Point drains pair best with small-format tiles, such as mosaics or 2x2-inch tiles, which conform cleanly to multi-directional compound angles without awkward relief cuts. Installing a matching shower drain for tiled floor provides clean visual symmetry.
Linear Trench Drains: Linear drains sit flush against an end wall or across the shower entrance. Because the drain spans the full width of the wet area, the foam pan requires only a single, uniform directional slope (uni-slope). This single-plane pitch allows you to install large-format tiles across the floor with minimal grout joints. Reviewing a linear shower drain installation diagram helps visualize this single-plane transition.
Tile-In and Concealed Drains: For minimalist aesthetics, an integrated hidden shower drain utilizes an insert that holds a cut piece of your matching floor tile, making the drain assembly virtually invisible while maintaining high water flow rates.
Selecting Between Curbed and Curbless Thresholds
Threshold configuration impacts accessibility, water containment, and subfloor preparation:
Single and Dual Curbed Pans: Curbed showers feature a raised threshold (typically 3 to 4.5 inches high) across one or two open sides. The curb acts as a dam to contain splashing water and provides an anchoring point for glass enclosures. Prefabricated high-density foam curbs bond directly to the pan and accept waterproofing and tile without thermal bridging or rot risk.
Barrier-Free Curbless Showers: Curbless, zero-threshold entries eliminate tripping hazards and create open, modern bathroom spaces suited for aging-in-place and ADA compliance. Designing a custom curbless shower pan requires careful planning: the subfloor must either be recessed between floor joists or ramped outside the shower footprint to ensure the finished tiled floor sits flush with the bathroom floor while maintaining proper slope to the drain.
How to Measure and Order a Shower Pan for Custom Tile
Accurate field measurements ensure your custom tray drops into place with minimal site adjustment. Always measure the rough framing rather than existing drywall or backer boards.
Follow this measurement checklist before ordering:
Width (Stud-to-Stud): Measure the horizontal distance between the wood or steel framing studs along the back wall, and double-check the width across the front entrance.
Depth (Back Stud to Front Edge): Measure from the face of the rear wall studs to the outer edge of the planned shower footprint (or front edge of the curb).
Drain Center Coordinates: Measure from the face of the rear wall studs to the exact center of the plumbing pipe (Y-dimension), then measure from the face of the left or right side wall studs to the center of the pipe (X-dimension).
Allowance for Fit: Plan for a 1/4-inch clearance gap between the framing and the foam pan. This provides necessary wiggle room to drop the tray into place over the plumbing rough-in.
If you are building a non-standard footprint with complex multi-plane transitions, using a custom shower pan slope kit helps establish precise slope lines across tricky layouts.
Step-by-Step Installation and Waterproofing Protocols
Once your custom tray arrives, following industry-standard installation practices ensures a solid, leak-free foundation:
Subfloor Preparation: Ensure the wood or concrete subfloor is clean, level (within 1/8 inch over 10 feet), and structurally sound without bounce or deflection. Vacuum all dust and debris.
Dry Fit the Tray: Drop the pan into position over the drain stub-out to verify dimensions, squareness, and level perimeter edges.
Bedding the Tray: Mix a polymer-modified thinset mortar to a smooth, workable consistency. Trowel the mortar across the subfloor using a 1/4" x 3/8" or 1/2" x 1/2" square-notched trowel, ensuring complete directional ridges. Set your ready to install shower pans firmly into the wet mortar bed, walking across the surface to collapse the ridges and achieve 100% continuous coverage underneath.
Connect the Drain: Secure the mechanical drain flange to the waste pipe per the manufacturer's instructions, ensuring all integrated gaskets and clamping collars seal tightly against the pan core.
Apply Waterproofing Membrane: Apply an approved ANSI A118.10 liquid-applied or bonded sheet waterproofing membrane over the entire surface of the foam pan, extending the membrane at least 3 inches above the shower curb and up all surrounding wall boards. Reinforce all internal corners and curb transitions with waterproof fabric band.
Perform a Code-Mandated Flood Test: Once the waterproofing membrane has fully cured, insert an inflatable test plug into the drain pipe and fill the shower basin with water up to the top of the curb (or minimum 2 inches deep). Let the water stand undisturbed for at least 24 hours to confirm that the assembly is completely watertight before laying a single tile.
Frequently Asked Questions About Custom Shower Pans
How long does a custom shower pan take to manufacture and deliver?
Production lead times vary by manufacturer. While some suppliers require four to five weeks for custom fabrication, Shower Concepts operates an efficient local manufacturing facility in Englewood, Colorado. We build custom-machined foam shower pans with rapid turnaround times, often shipping orders within days of specification approval.
Can large-format tile be installed over a pre-sloped foam shower pan?
Yes, provided you pair the tile with the correct drain design. Large-format tiles (such as 12x24-inch or larger porcelain slabs) require a flat, single-plane floor slope, which is achieved by pairing your tray with a linear trench drain. Traditional four-way point drains require compound slopes that cause large tiles to teeter or crack; for point drains, stick to mosaic tiles (typically 2x2 inches or smaller) that conform naturally to multi-plane contours.
What slope is required for proper drainage in custom tile showers?
According to the Tile Council of North America (TCNA) handbook and standard plumbing codes (including IAPMO and ICC guidelines), a shower floor must maintain a continuous pitch of 1/4 inch of fall per horizontal foot (approximately a 2% grade) from the perimeter walls to the drain edge. This slope ensures efficient gravity drainage and prevents standing water.
Conclusion
Building a custom tiled shower requires an accurate layout, solid subfloor support, and reliable moisture protection. By using high-density, pre-sloped foam pans, contractors and homeowners can create a consistent tiled shower foundation while maintaining complete design freedom over shapes, drain styles, and tile selections.
At Shower Concepts, we manufacture precision custom foam shower trays, curbs, benches, and accessories using 100% virgin EPS foam. Designed by experienced tradespeople for professional tile installers, our Denver-based facility delivers durable, made-to-order shower components with rapid turnaround times. Contact our team today to review your project specifications and order your custom shower pan.
