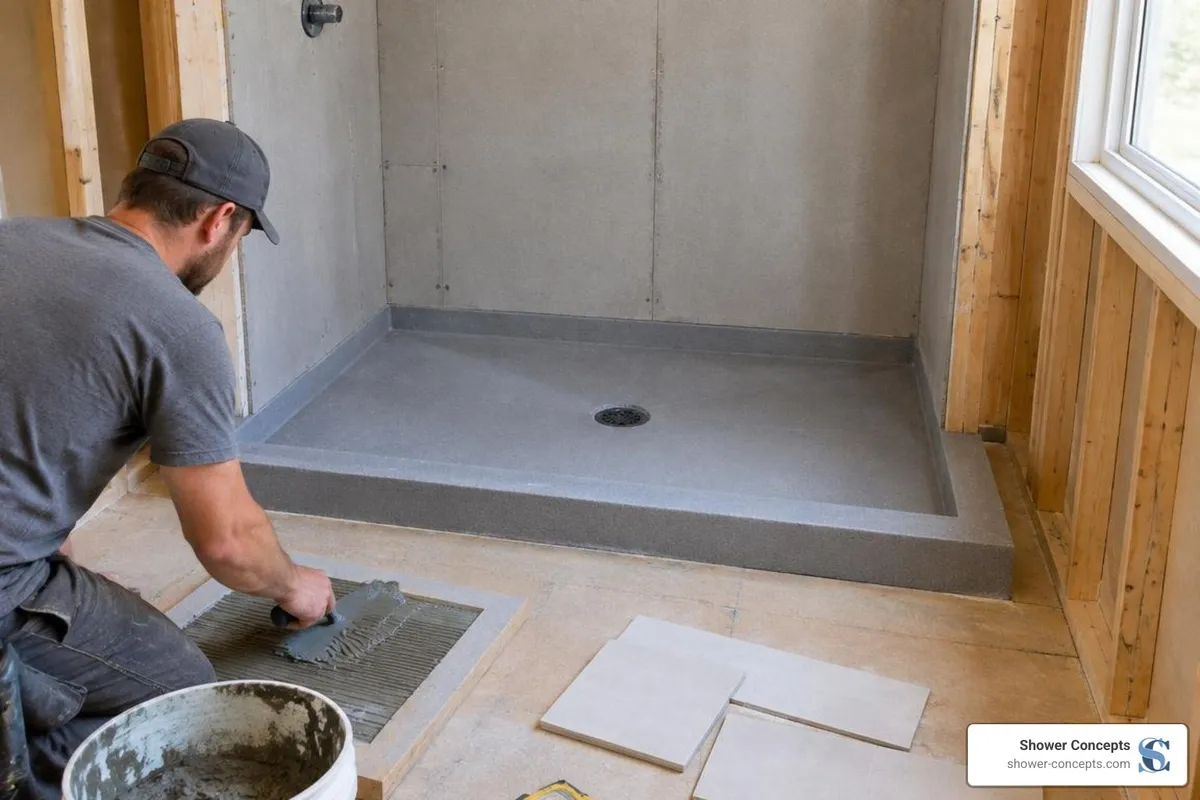
Custom Tile Ready Foam Shower Pans That Save Hours on Every Job
Compare Custom Tile-Ready Foam Shower Pans Before You Order
For a custom tile-ready foam shower pan, look for a pre-sloped base made to fit your shower footprint and drain location. Compared with a mud bed, it saves the work of forming the slope on-site while providing a durable surface for a tiled shower floor. The key choice is waterproofing: some pans have an integrated waterproof surface, while others need a compatible membrane and sealed seams before tile goes down.
That choice affects both your schedule and leak risk. Check the pan's shape, drain fit, curb or curbless design, and waterproofing instructions before comparing prices.
I'm David Stewart, an owner and partner at Shower Concepts in Denver, with more than 15 years of construction and tile-installation experience. My work with custom shower pan tile ready foam helps me focus this comparison on what matters at the job site: fit, labor, and water management.
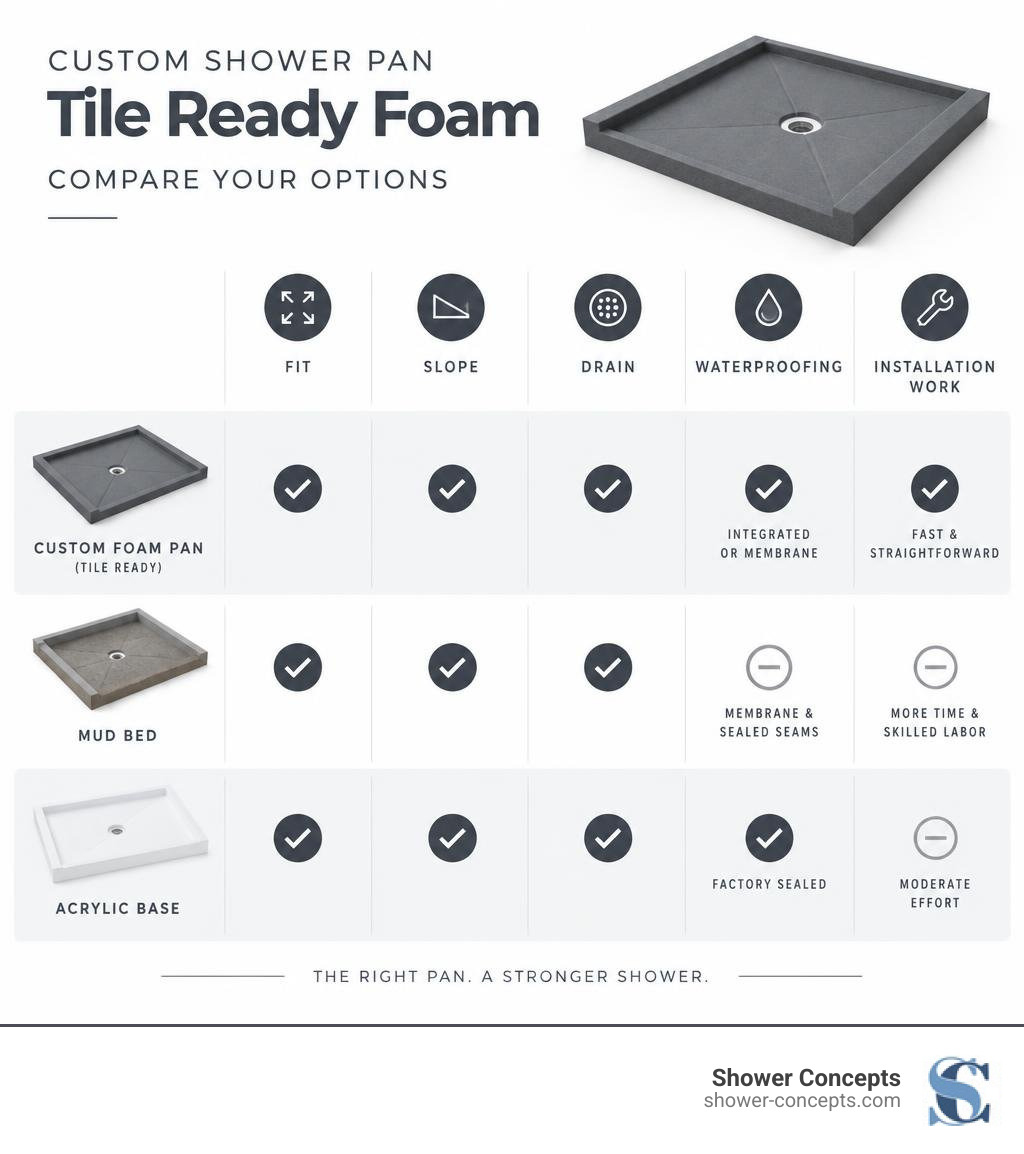
Custom Shower Pan Tile Ready Foam: Installation and Reliability
Building a shower foundation used to mean hauling hundreds of pounds of sand and Portland cement up flights of stairs, mixing dry pack in buckets, and screeding a delicate slope by hand. If the mud was packed unevenly, voids formed. If the pitch was off by an eighth of an inch, puddles lingered permanently.
Today, precision-machined substrates have transformed that workflow. When planning a remodel or new build, choosing between ready to install shower pans, multi-piece puzzle kits, and traditional hand-packed mud beds comes down to three factors: installation time, required skill, and long-term leak vulnerability.
Feature / Metric | Traditional Mortar Bed | Multi-Piece Foam Kit | One-Piece Custom Foam Pan |
|---|---|---|---|
Average Install Time | 2 to 3 Days (with cure) | 45 to 90 Minutes | Under 30 Minutes |
Required Skill Level | Very High | Moderate to High | Low to Moderate |
Weight per Base | 150 to 250+ lbs | 8 to 15 lbs | 8 to 12 lbs |
Custom Sizing Flexibility | Unlimited (Manual) | Limited (Modular cuts) | Fully Custom to 1/16" |
Inherent Slope Accuracy | Manual / Variable | Pre-sloped (1/4" / ft) | Machine-cut (1/4" / ft) |
Seam Failure Risk | Moderate to High | Moderate (Field seams) | Very Low (Monolithic) |
Long-Term Reliability | Low to Medium | Medium | Very High |
Hand-packed mortar beds require two separate layers: a pre-pitch screed under the pan liner and a final mud bed over top. Mortar requires 24 to 48 hours to cure before you can perform a required flood test or set tile. In contrast, high-density virgin expanded polystyrene (EPS) or extruded polystyrene (XPS) foam bases arrive factory-machined with a uniform slope of 1/4 inch per foot directed straight to your designated drain coordinates.
Water management standards require absolute control over moisture migration beneath tile assemblies. According to the Measure Guideline: Water Management at Tub and Shower Assemblies provided by the Building America program, sub-tile moisture will penetrate cementitious grouts and thin-set mortars over time. Because thin-set acts like a hard sponge that wicks moisture horizontally across the floor, a single continuous waterproof plane integrated with the drain flange is essential to protect structural subfloors from rot and mold.
Key Design Features of Custom Tile-Ready Foam Shower Pans
High-density structural foam pans provide an exceptionally rigid substrate that weighs less than 12 pounds while supporting thousands of pounds of compressive load per square foot. These lightweight bases eliminate the structural dead load of wet mud beds while streamlining transport into tight master bathrooms, basements, or multi-story builds.
Pre-Pitched Foam Trays and Waterproofing
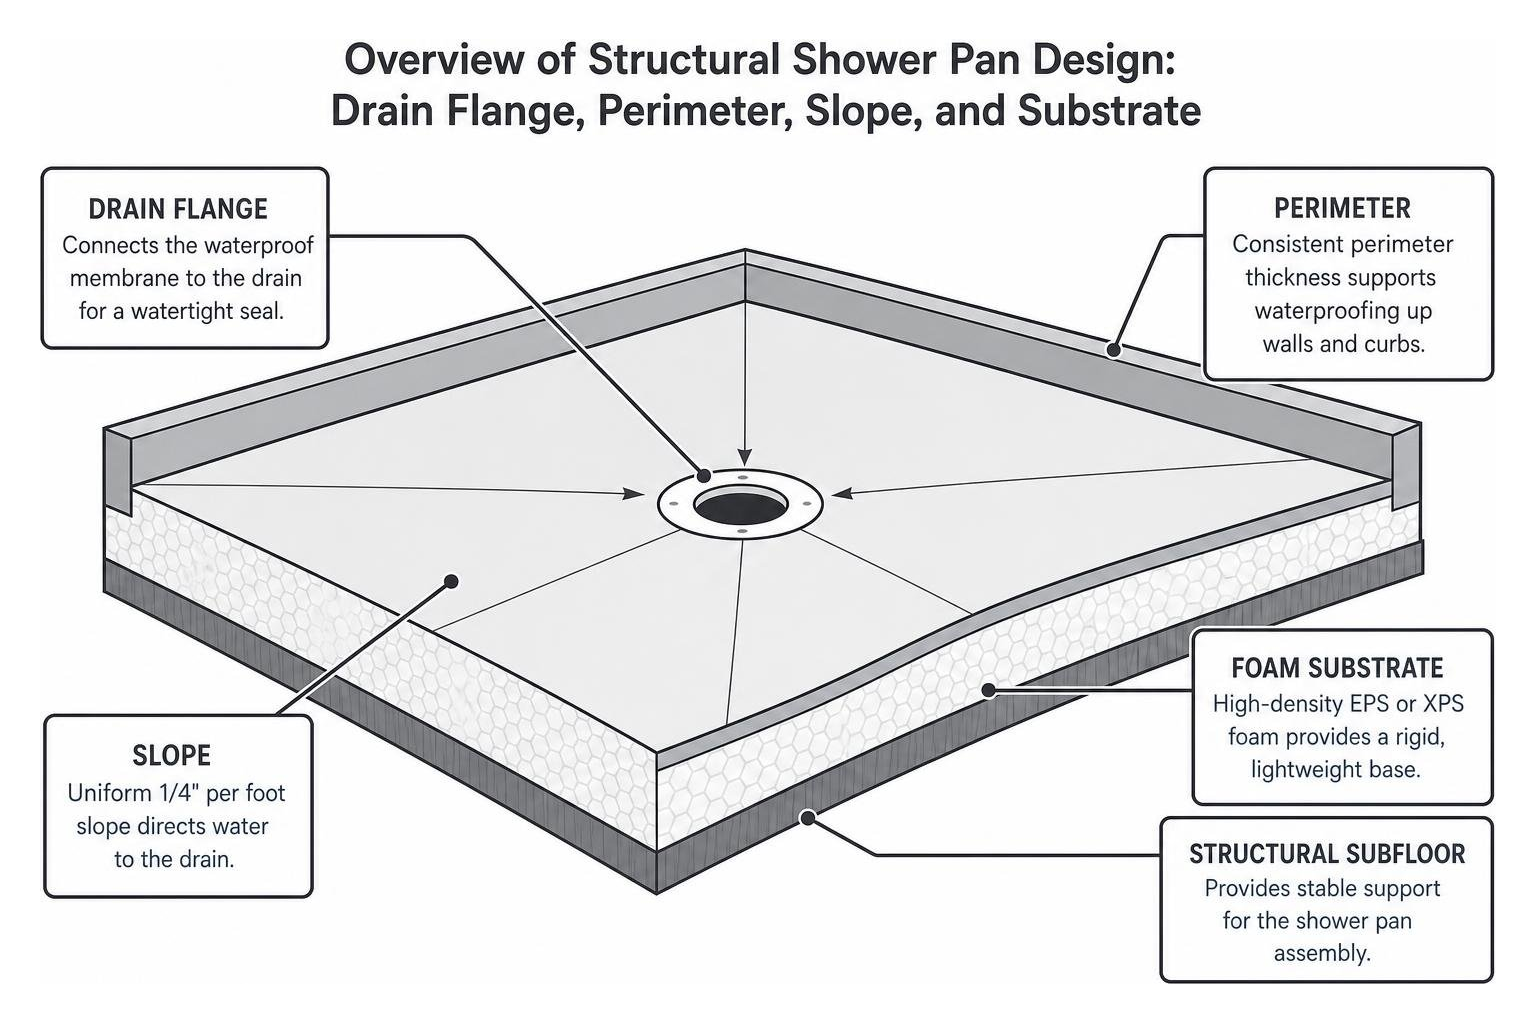
Proper drainage geometry is built directly into every custom tray. Traditional mud screeding often results in flat spots or dish-shaped low points where water pools under tile, encouraging mold and efflorescence. A custom foam pan maintains a uniform perimeter thickness (commonly 1-15/16 inches or 15/16 inches for low-profile profiles) and tapers at an exact 1/4-inch-per-foot fall to the drain opening.
To ensure watertight integrity, review the best practices for foam shower pan installation before setting the pan in a full-coverage bed of modified thin-set mortar. Depending on whether your pan features an integrated waterproof coating or bare high-density foam, you will apply either a topical sheet membrane (such as an ANSI A118.10 fabric) or a liquid-applied elastomeric waterproofing compound over the entire pan, curb, and up the perimeter walls.
For installers seeking extended system protection, combining a pre-sloped foam base with commercial waterproofing systems like ARDEX 8+9 or bonded sheet membranes can qualify the entire installation for extended system warranties of up to 25 years. Always perform a 24-hour flood test after setting your drain assembly and topical membrane before laying tile.
Custom Shapes and Integrated Components
Remodels rarely present plumb walls and standard dimensions. Whether you are dealing with an out-of-square 43" x 58" master alcove, an off-set neo-angle, or an L-shaped wrap-around shower layout, custom machining cuts the foam base to match your exact framing footprint.
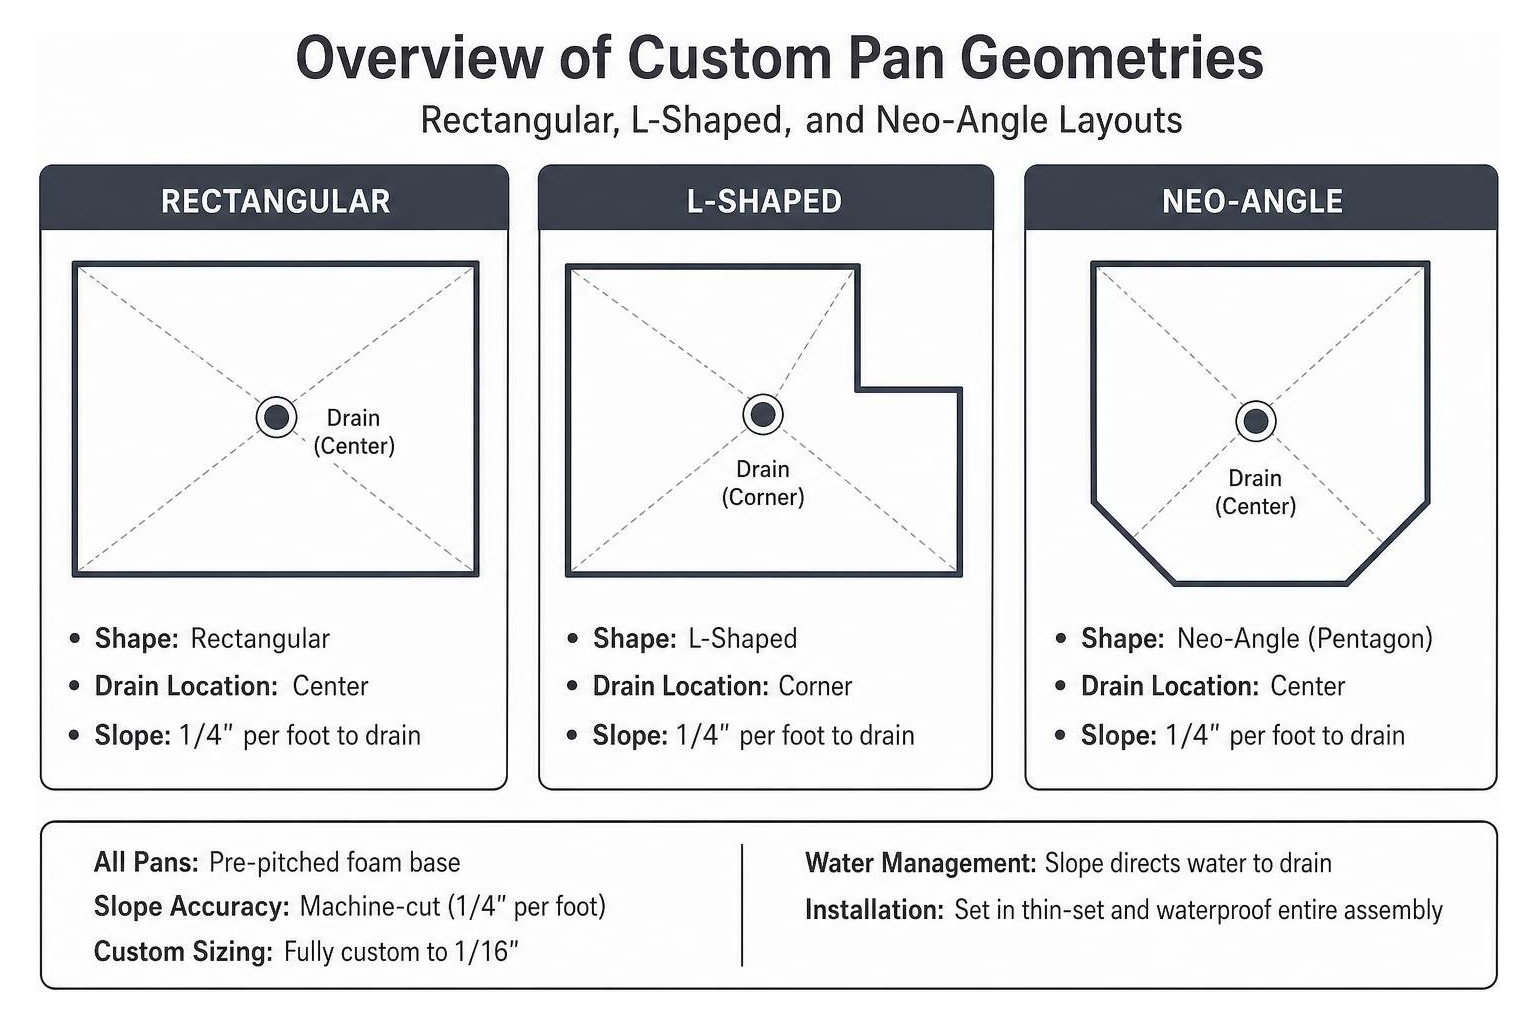
Factory fabrication also produces matching components engineered to bond seamlessly with your base:
Pre-formed foam curbs: Available in standard, narrow, or low-profile designs that eliminate wood 2x4 framing (which twists, warps, and causes grout cracking when exposed to humidity).
Pre-pitched benches and corner seats: Sized to bond directly to your pan and wall panels without introducing cold joints.
Integrated splash walls and return panels: Coated transitions that direct water runoff straight onto the sloped base without complex framing intersections.
Low-Profile and Curbless Design Considerations
Curbless (zero-entry) showers are among the most requested bathroom features for modern aesthetics and universal accessibility. Achieving a flat, flush transition between the bathroom floor and shower requires careful elevation planning.
Using a mud bed for a curbless shower often requires cutting down floor joists or building recessed subfloor boxes—a labor-intensive structural task. In contrast, structural low-profile foam pans (such as those engineered at 15/16" perimeter thickness) can sit directly across standard subfloors or span 16" on-center joist layouts with minimal subfloor modification.
When designing a custom curbless shower pan, single-slope linear drain configurations allow large-format tiles to be laid without diagonal relief cuts (envelope cuts), creating a clean, barrier-free walk-in entrance.
One-Piece Pan Design and Seam Planning
When evaluating foam substrates, installers must decide between one-piece factory-formed custom trays and modular multi-piece "puzzle" kits.
Modular kits use interlocking foam extensions that are glued and banded together on site to create non-standard dimensions. While functional, every field seam introduces a potential failure point. If an installer applies uneven adhesive under an extension piece or fails to seal a field joint properly, water can seep into the seam and compromise the subfloor.
A single-piece factory-machined pan eliminates interior seams entirely. The continuous foam block maintains structural rigidity across the entire floor. If you must adjust pitch transitions across unusual alcoves, specifying a custom shower pan slope kit manufactured as a dedicated monolithic unit ensures water flows directly toward the drain without encountering field-glued joint humps.
Engineering and Ordering a Custom Foam Shower Pan
Ordering a custom pan is straightforward when you know how to capture your room dimensions and drain offsets accurately. Because these bases are CNC-machined from 100% virgin high-density EPS or XPS foam blocks, your measurements translate directly into a finished, ready-to-tile pan within 24 to 48 hours.
Measuring for a Custom Shower Pan Tile Ready Foam
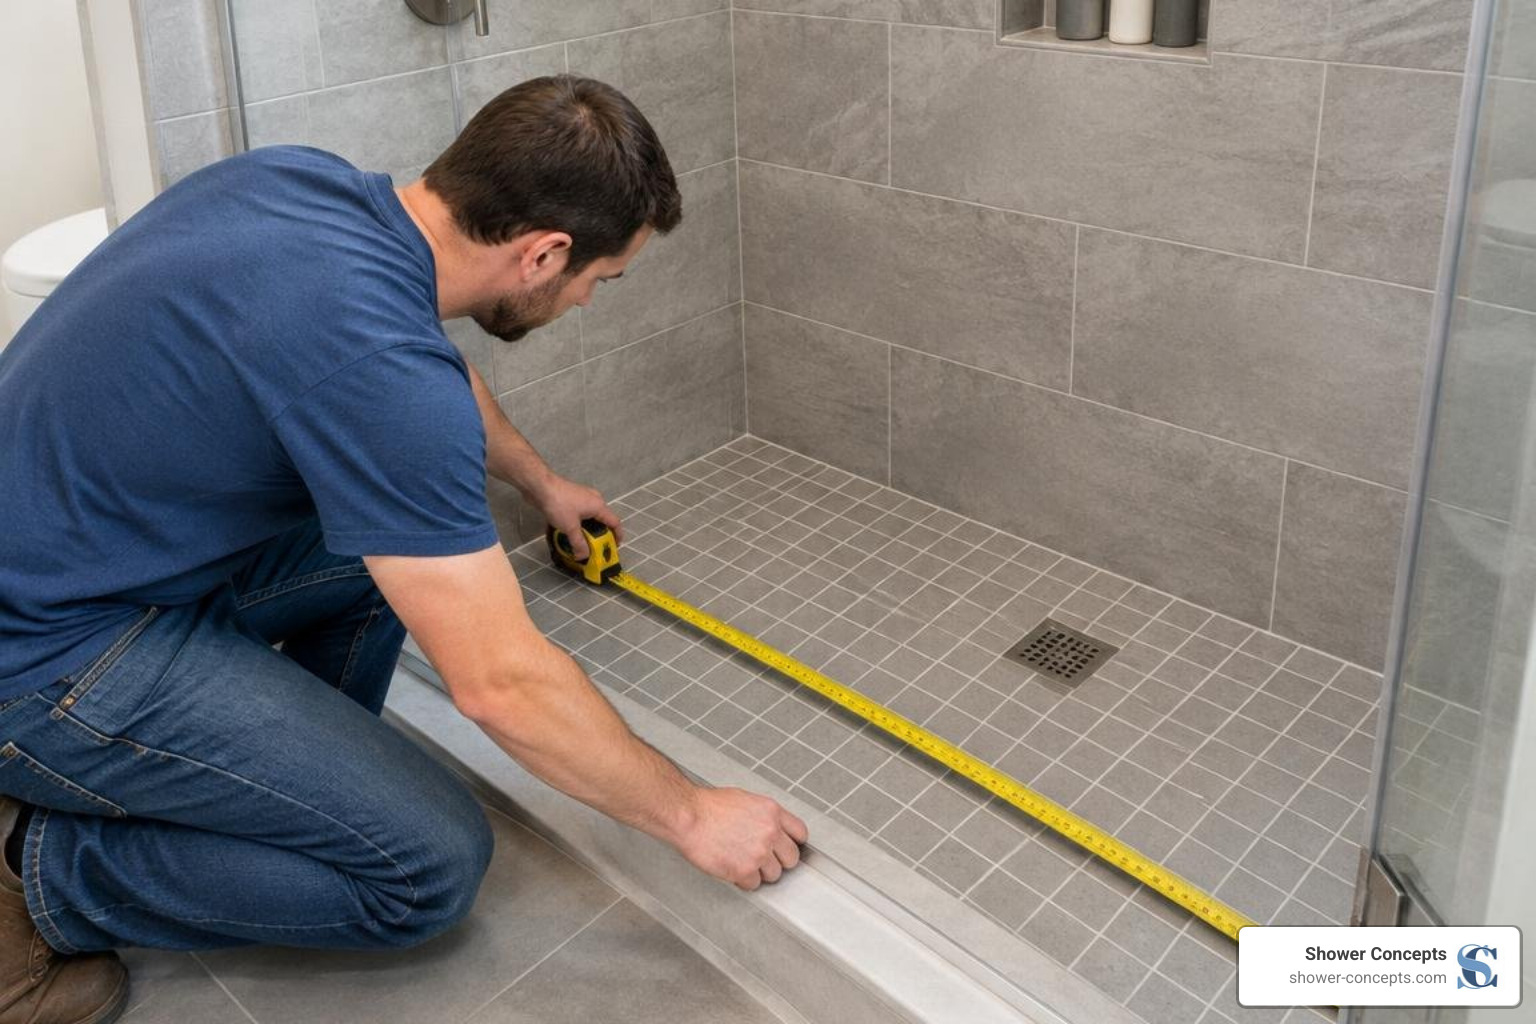
Precision at the measuring stage prevents on-site trimming delays. Follow these four steps when recording your shower pan dimensions:
Measure Framed Dimensions: Measure wall-to-wall or wall-to-curb at the base plate level. Take measurements at multiple points to identify out-of-square framing.
Apply the Perimeter Deduction: Subtract 1/8 inch from each perimeter dimension that meets a wall stud. This standard 1/8" clearance ensures the pan drops easily into place without binding against framing or drywall screws.
Map Exact Drain Coordinates: Measure from the framed back wall and sidewalls directly to the center point of the 2-inch plumbing rough-in pipe. Do not assume the drain is centered; plumbing often misses true center by an inch or more to clear joists below.
Specify Curb and Entry Requirements: Note which edges require an integrated curb, low-profile barrier-free transition, or perimeter splash-wall flange.
When you need non-standard geometries or specific drain locations, ordering a shower pan custom fabricated to your specifications ensures you receive a factory-sloped unit tailored to your project layout.
Cost Breakdown: Custom Shower Pan Tile Ready Foam and Installation Labor
At first glance, a bag of sand-and-gravel mortar mix looks far cheaper than a custom CNC-cut foam pan. But looking at material prices alone ignores the primary driver of bathroom renovation expenses: skilled labor and job scheduling.
Traditional Mortar Bed Total Cost:
Materials (Pre-pitch mud, PVC liner, corner dams, top screed mortar, bonding agent): $120 – $180
Labor (Two trips, mixing, packing, screeding, curing time, liner testing): 8 – 14 hours ($650 – $1,200)
Total Installed Investment: $770 – $1,380
Custom Tile-Ready Foam Pan Total Cost:
Materials (Custom 100% virgin foam pan, drain flange kit, bonding thin-set): $300 – $480
Labor (Subfloor prep, thin-set spread, setting pan, drain connection, seam tape): 1 – 2 hours ($90 – $180)
Total Installed Investment: $390 – $660
By compressing two to three days of messy, back-straining mortar prep into a single 30-to-45-minute task, custom foam pans cut total project costs nearly in half while eliminating structural deadweight. When considering the long-term reliability of shower pans ready for tile, factory-controlled slopes eliminate the callback risks associated with standing water, cracked grout, and liner punctures.
Frequently Asked Questions About Custom Tile-Ready Foam Bases
Can custom foam shower pans support heavy tile and barrier-free curbless designs?
Yes. High-density 3 lb EPS and closed-cell XPS structural foams are engineered to provide high compressive strengths (exceeding 40 to 60 psi before covering). Once embedded in a full-contact bed of modified thin-set mortar and tiled with porcelain, natural stone, or ceramic tile, the load is distributed evenly across the rigid surface. These assemblies easily withstand point loads from heavy glass shower doors, wheelchair footrests, and daily residential or commercial traffic without flexing or crushing.
What waterproofing systems are compatible with foam shower pans?
High-density EPS and XPS foam shower pans are compatible with virtually all major modern tile waterproofing systems. Installers can apply ANSI A118.10 bonded sheet membranes using modified thin-set mortar, or apply brush-and-roller elastomeric liquid waterproofing membranes directly over compatible foam cores and joint banding tapes. Leading systems from manufacturers like ARDEX, LATICRETE, and other ANSI A118.10 membrane producers bond securely to high-density foam, ensuring continuous water isolation from the drain flange to the ceiling.
How do custom foam pans prevent leaks and water wicking around the drain?
Standard clamping-ring drains used in mud beds rely on secondary weep holes that frequently clog with mortar residue, trapping stagnant water under the tile floor. Custom foam pans use integrated bonding-flange drains (such as integrated ABS/PVC bond flanges or FloFX systems). The surface waterproofing membrane bonds directly to the broad, top-level flange of the drain bowl. This ensures all water shedding off the tile and thin-set drops immediately into the plumbing waste pipe, preventing sub-surface water migration and lateral wicking.
Conclusion
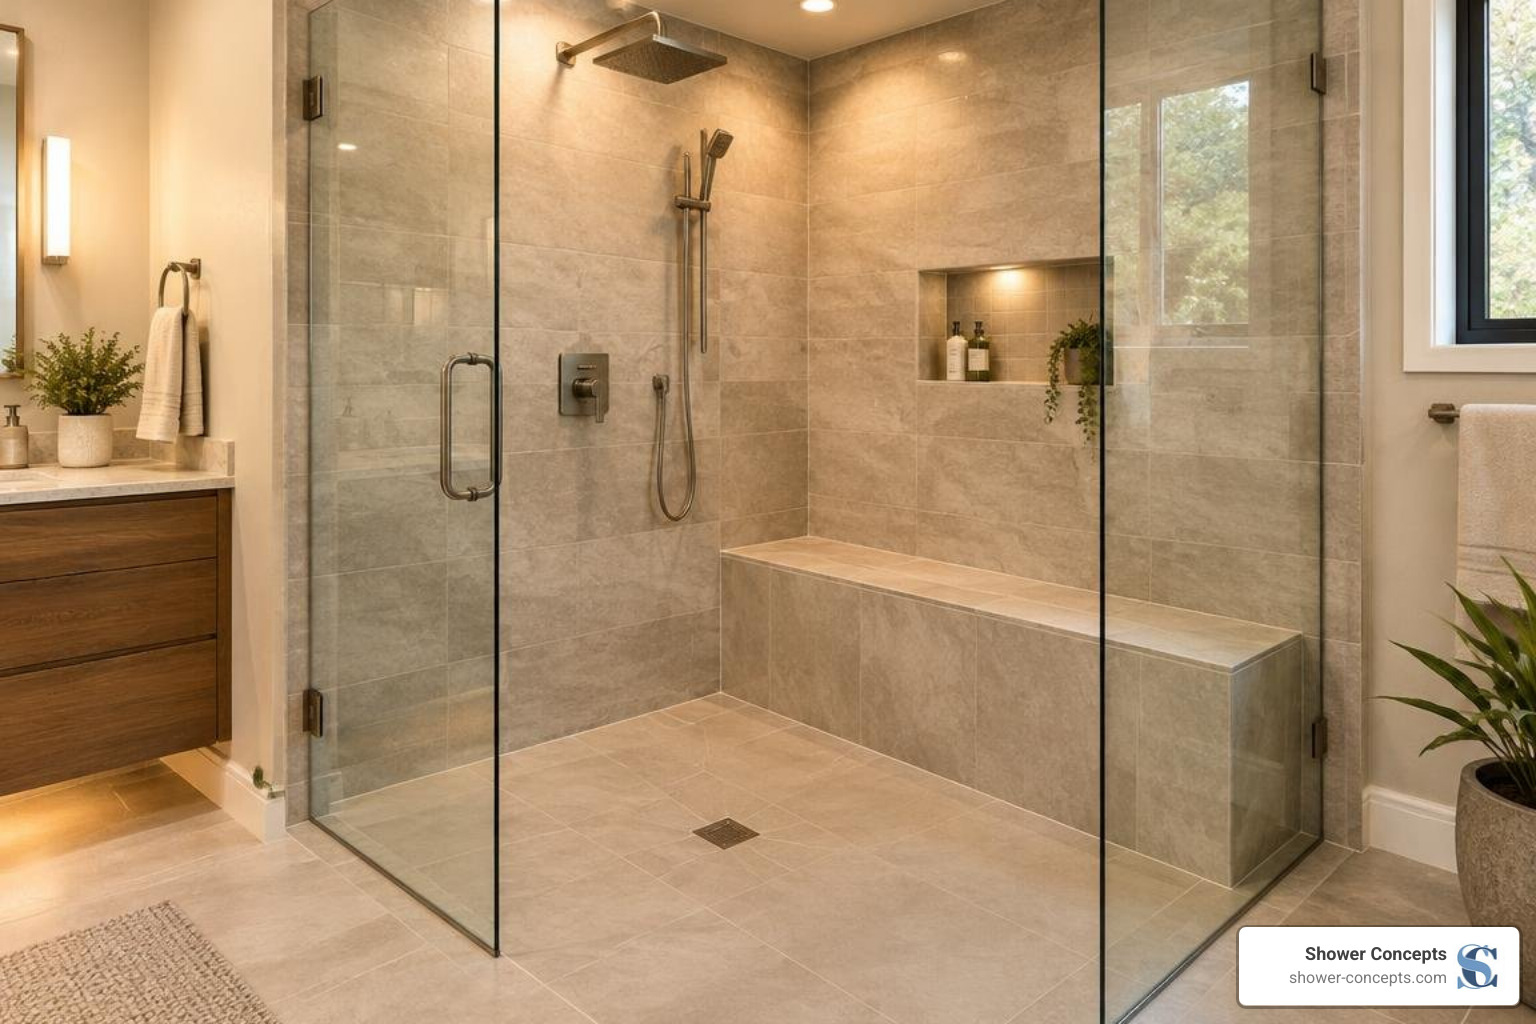
A successful, leak-free tiled shower begins with a flat, precisely pitched, and structurally solid foundation. Trying to hand-shape wet mortar beds on site increases installation time, strains your back, and introduces human error into slope geometry and seam sealing.
At Shower Concepts in Denver, Colorado, we engineer lightweight, durable, 100% virgin-foam shower pans made to order with rapid turnaround and a strict quality-management system. Whether you are installing a curbless walk-in, an offset luxury master suite, or a standard bathroom remodel, explore custom foam shower pan solutions from Shower Concepts to build your next shower on a reliable foundation that saves hours on every job.
